Skip to content
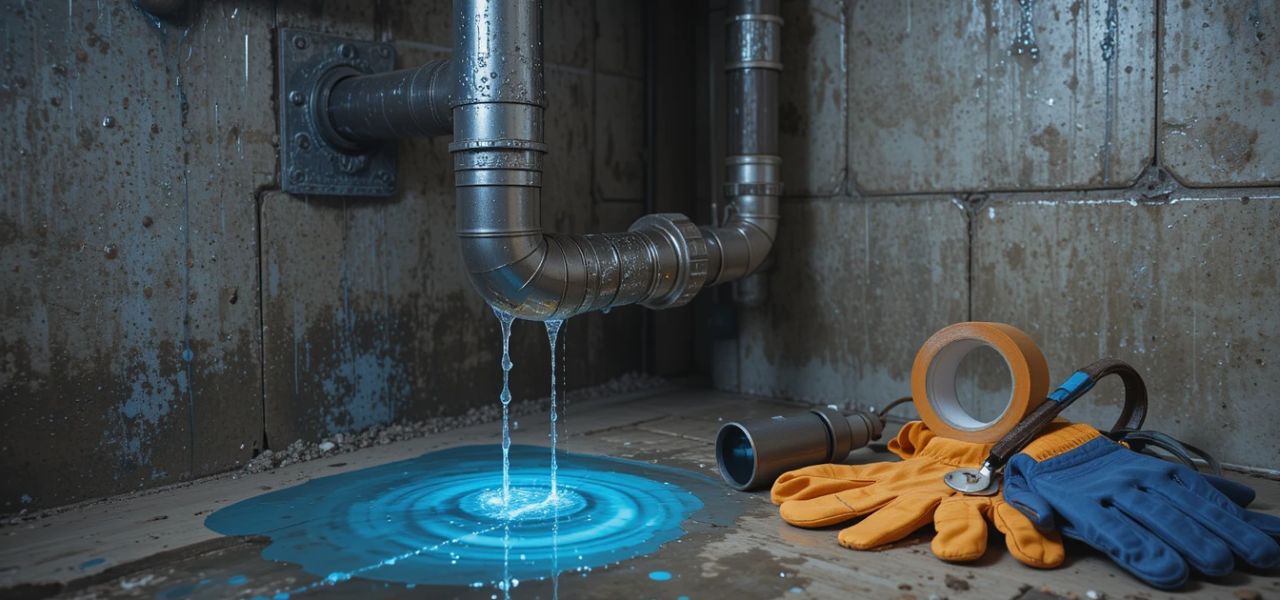
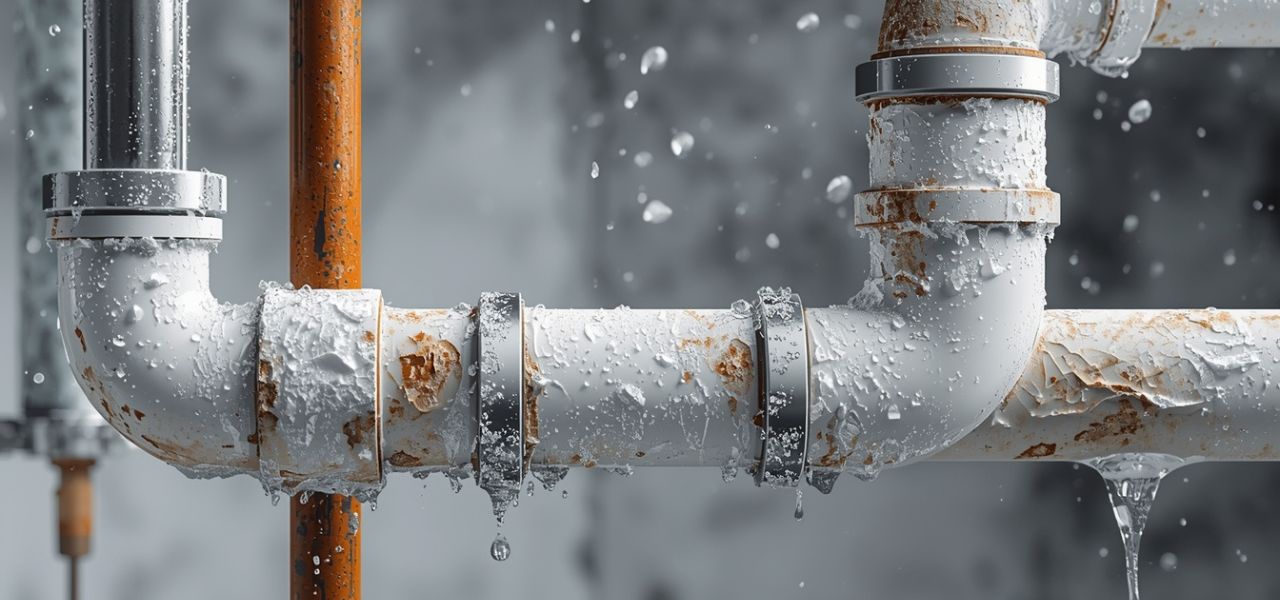
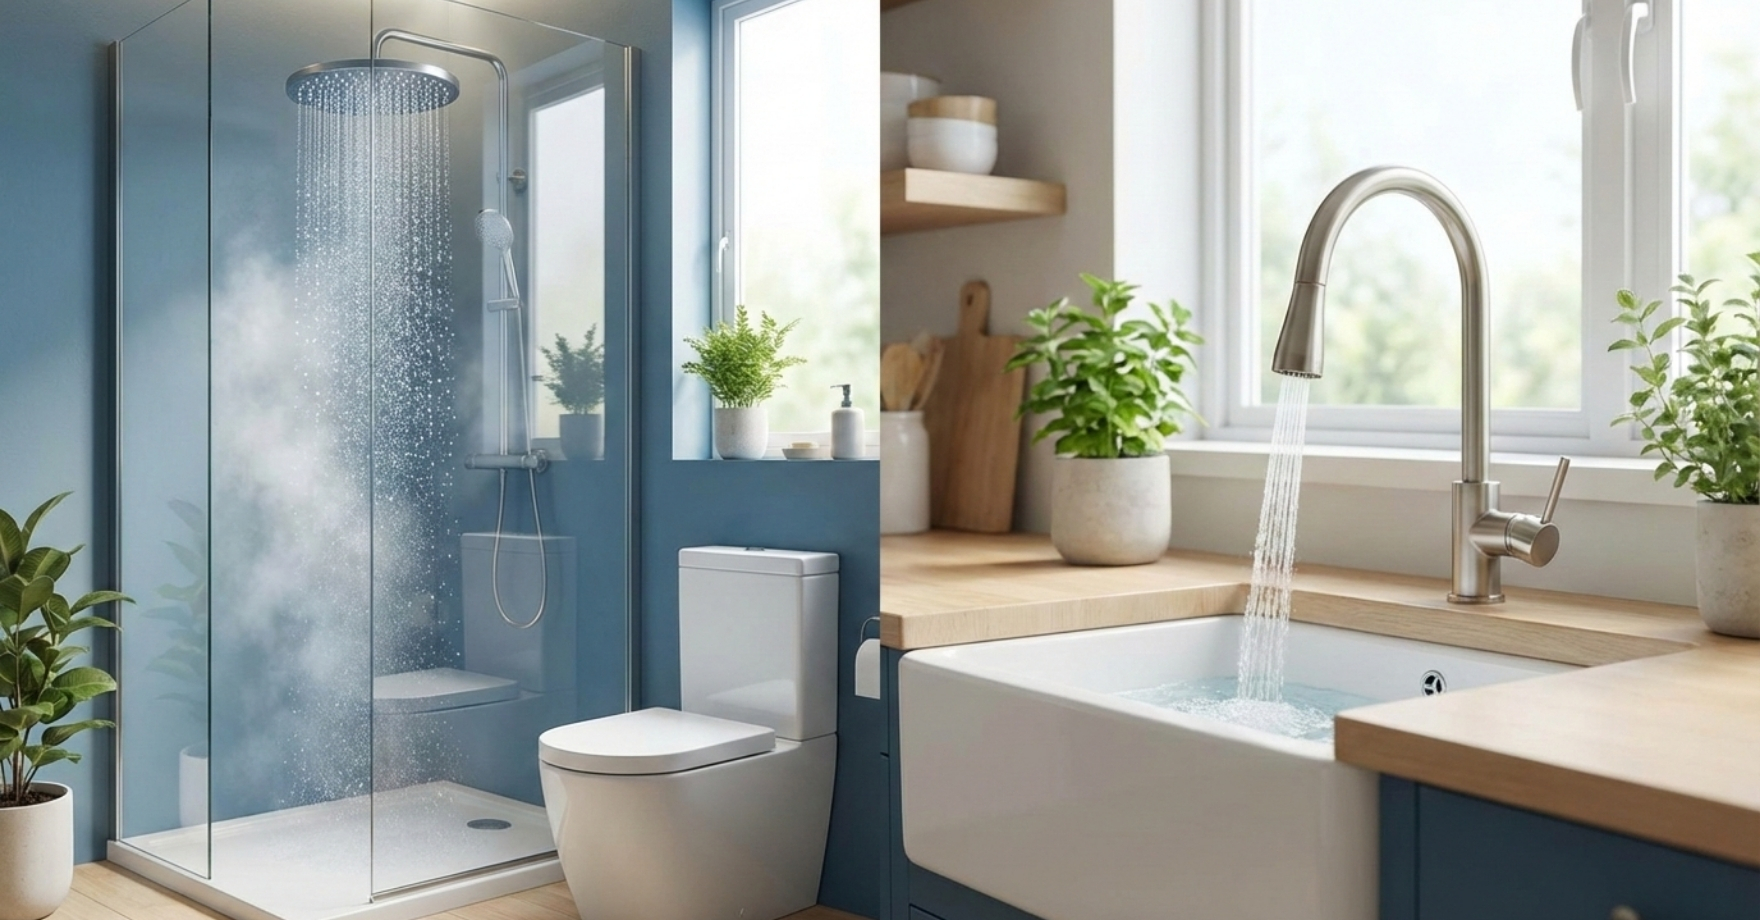
A leaking pipe is a common plumbing issue that can quickly escalate if not addressed. While a permanent fix often requires professional help, knowing how to temporarily seal a leaking pipe can prevent water damage and buy you time for a more detailed repair. In this blog, we’ll explore DIY tips to seal a water pipe leak using effective methods and materials.
How to Temporarily Seal a Leaking Pipe
Tools and Materials Needed for Temporary Pipe Repair
Before diving into the process, gather these materials:
- Pipe leak repair tape or waterproof sealing tape
- Epoxy putty for leaking pipes
- Rubber or silicone patches
- Hose clamps or zip ties
- Bucket or towels to catch dripping water
Having these items on hand will help you stop pipe leaks fast in any emergency.
How to Temporarily Seal a Leaking Pipe
1. Turn Off the Water Supply
The first step in any emergency pipe repair is to shut off the water supply. Locate the main water valve and turn it off to prevent further leakage. Open nearby faucets to drain remaining water from the pipes.
2. Identify the Source of the Leak
Inspect the pipe carefully to locate the exact spot of the leak. Common areas include joints, cracks, or pinholes in the pipe.
3. Dry and Clean the Affected Area
Before applying any temporary seal, ensure the pipe is dry and free from dirt, grease, or moisture. Use a towel or cloth to wipe down the area. This step ensures better adhesion for the repair material.
4. Use Pipe Leak Repair Tape
- Wrap waterproof sealing tape or pipe leak repair tape around the damaged area.
- Overlap each layer tightly to create a secure seal.
- Ensure the tape extends several inches beyond the leak on both sides for maximum effectiveness.
Pro Tip: This method works best for small cracks or pinhole leaks.
5. Apply Epoxy Putty for Leaking Pipes
- Mix the epoxy putty as instructed on the package.
- Mold it over the leak, pressing firmly to ensure it fills any cracks or holes.
- Allow it to cure for the recommended time before turning the water back on.

6. Use Rubber and Hose Clamps for Larger Leaks
- Cut a piece of rubber or silicone to cover the leak.
- Place the patch over the damaged area.
- Secure it tightly with a hose clamp or zip ties to hold it in place.
This method is effective for larger leaks or temporary solutions for burst pipes.
When to Call a Professional Plumber
While these methods are excellent for temporary plumbing repair, they are not permanent solutions. If the leak persists or in worse condition, contact a professional plumber to ensure a long-term fix.
Preventing Future Leaks
- Inspect Pipes Regularly: Look for signs of corrosion, wear, or weak joints.
- Maintain Proper Water Pressure: High water pressure can stress your pipes.
- Use Quality Materials: Invest in durable pipes and fittings for long-term reliability.
Conclusion
Knowing how to temporarily seal a leaking pipe is a valuable skill that can save you from costly water damage. Whether you use pipe leak repair tape, epoxy putty, or rubber patches, these quick fixes can stop pipe leaks fast until a plumber arrives.
For professional help with plumbing emergencies, trust Magic Plumbing to provide reliable and efficient solutions. Contact us today for expert assistance!